How-to create a local shortcut (generic)
So you've installed Xyntax. Now you need to configure the shortcut to connect to the Xyntax server.
To create a local shortcut:
1. Right-click the App Server icon and click Properties.
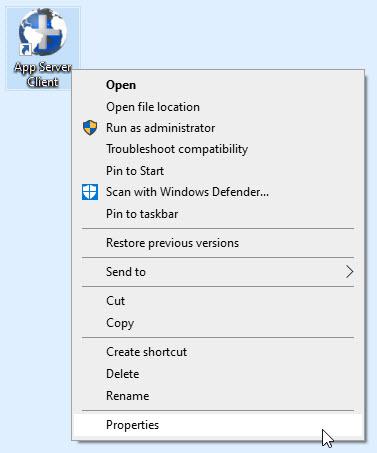
The following window will appear:
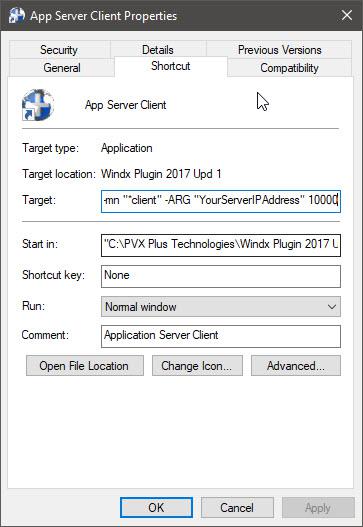
2. In the Target line replace YourServerIPAddress with the Local Area Network (LAN) Address for your server (e.g. 192.168.100.88). If you do not have or know this information, please speak with your technical services representative or call Xyntax Support.
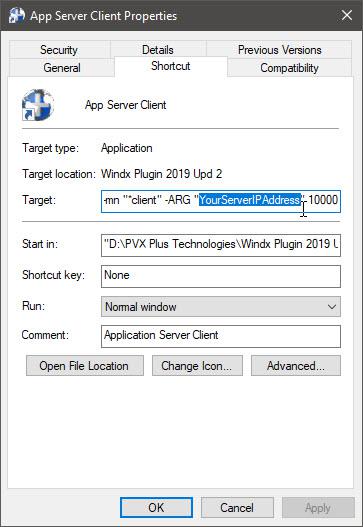
3. At the end of the Target line, add the following shown below exactly (including any spaces).
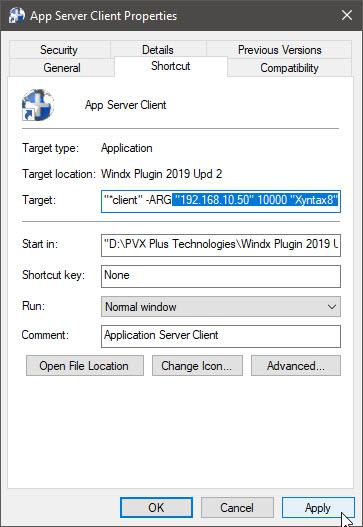
3. Double-check that you have the correct PORT, IPADDRESS, and APP variable.
| Tip! -- Local Connections use PORT="10000" APP=""Xyntax8"" (e.g. "C:\PVX Plus Technologies\Windx Plugin 2019 Upd 2\pxplus.exe" -mn "*client" -ARG "192.168.50.10" 10000 "Xyntax8" Remote Connections use PORT="11000" APP=""Xyntax8Remote"" (e.g. "C:\PVX Plus Technologies\Windx Plugin 2019 Upd 2\pxplus.exe" -mn "*client" -ARG "*client" -ARG "95.24.100.3" 11000 "Xyntax8Remote" |
4. Click Apply.
5. Right-click and rename the shortcut to "Xyntax".
6. Double-click the Xyntax icon located on your desktop.
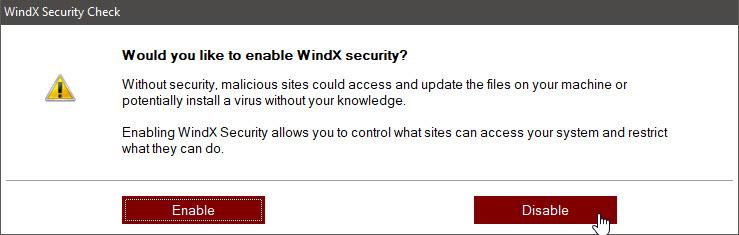
The first time you log in, it’ll pop-up a WindX security message, make sure to click Disable.
Then you’ll see the following, strangely, sized screen:
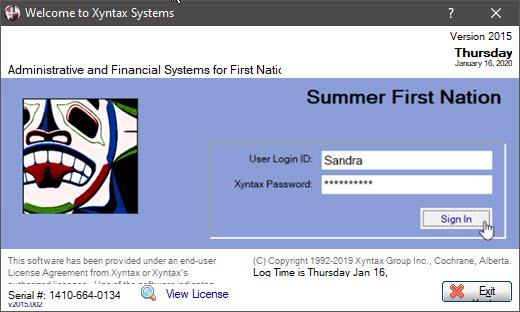
7. Enter a valid User Login ID and Password. If you do not have a login yet, please speak with your Systems Administrator.
8. If you are able to log in, this screen will appear.
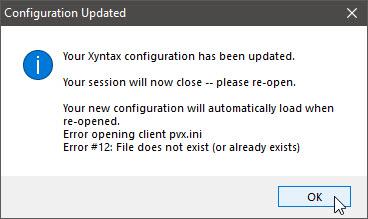
9. Click OK.
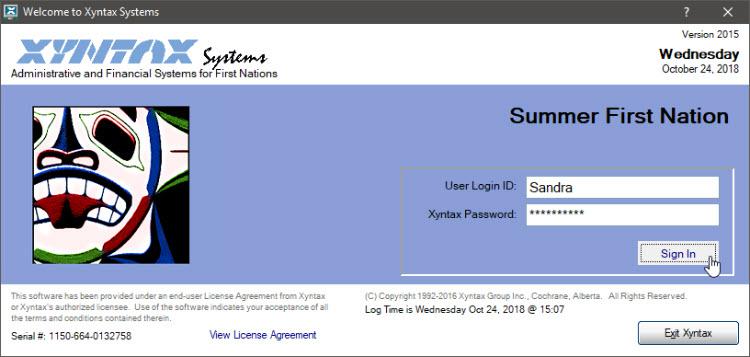
10. Double-click the shortcut to open Xyntax again.
Now the correct and properly updated screen will appear.
Related Articles
How-to install Xyntax (generic)
Customer support service by UserEcho
