How-to create a remote shortcut
Xyntax also allows you to log into the system remotely (with the correct permissions).
To create a remote shortcut:
1. Right-click the Xyntax icon and click Copy.
2. Right-click anywhere on your desktop and click Paste.
Alternatively, if you left-click the Xyntax icon and press <CTRL>+C, to Copy, and <CTRL>+V, to Paste; this should also work.
A copy of the Xyntax icon should appear.
3. Right-click the Xyntax icon and click Properties.
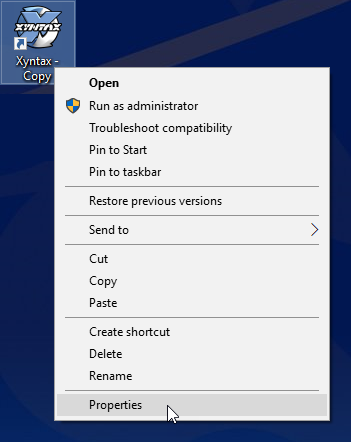
The following window will appear:
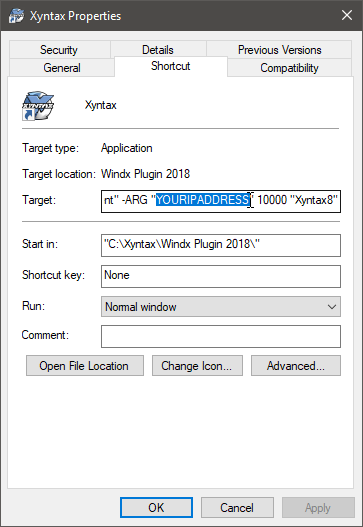
4. In Target:, replace your LAN (Local Area Network) Address with the IPAddress for your server (e.g. 84.10.10.5). If you do not have or know this information, please speak with your technical services representative or call Xyntax Support.
5. Replace 10000 with "11000".
6. Replace "Xyntax8" with ""Xyntax8Remote""
| Tip! -- Local Connections use PORT="10000" APP=""Xyntax8"" (e.g. "C:\Xyntax\Windx Plugin 2018\pxplus.exe" -mn "*client" -ARG "192.168.50.10" 10000 "Xyntax8" Remote Connections use PORT="11000" APP=""Xyntax8Remote"" (e.g. "C:\Xyntax\Windx Plugin 2018\pxplus.exe" -mn "*client" -ARG "95.24.100.3" 11000 "Xyntax8Remote" |
You should have something similar to what is shown below.
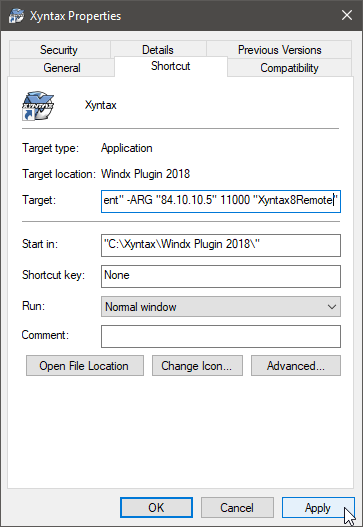
7. Click Apply.
The following screen should appear:
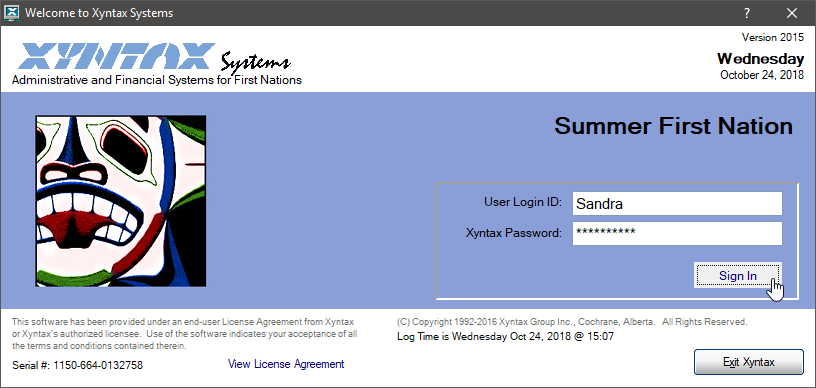
5. Enter a valid User Login ID and Password. If you do not have a login yet, please speak with your Systems Administrator.
Related Articles
Customer support service by UserEcho
