How to Install Xyntax Version 14.10 (NEW)
How to Install the Xyntax Client
To install the Xyntax client on your computer,
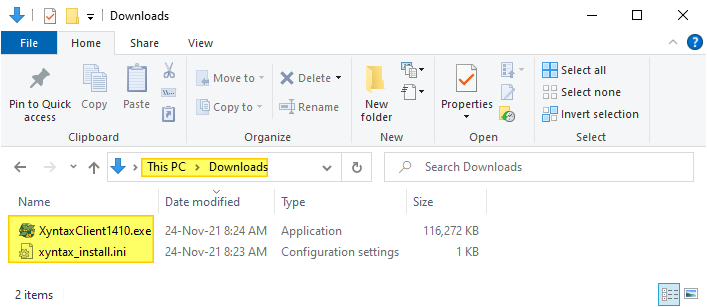
- Download the following installer program from our web site: https://xyntaxapp.ca/client/XyntaxClient1410.exe (the file will download automatically into your downloads folder)
- Save the xyntax_install.ini file in your download’s directory where the above XyntaxClient1410.exe is. Upon request and only via support@xyntax.com your prefigured xyntax_install.ini file will be sent to you via email.
- Run the installer program and follow the prompts.
Double-click the XyntaxClient1410.exe file in your download’s directory.
The first screen looks like this:
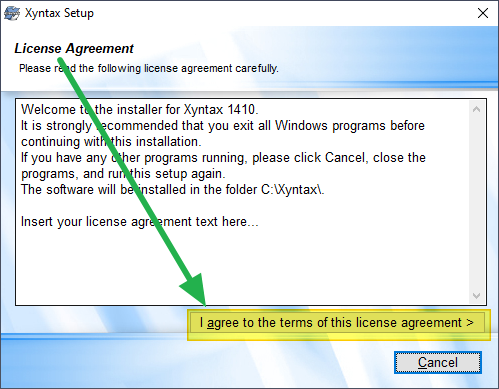
Simply press the ‘I agree to the terms of this license agreement >’ to accept the license agreement. (We are still working on the wording of the license agreement).
The system has already checked if you are an admin and can do the install. It also checks if you have enough memory and disk space and the accepted versions of your Windows.
Pressing ‘Cancel’ aborts the installation process.
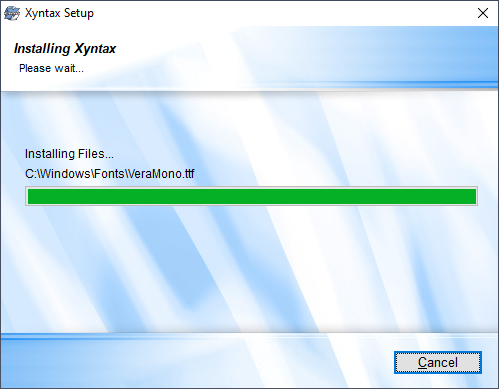
The installer quickly copies some preliminary files to the required locations. Then starts the second copy pass.

This takes longer as it is decompressing multiple files. Supposedly you can cancel at this point, but I am not certain where it will leave you.
The final step is to create the desktop shortcuts based on the xyntax_install.ini file.
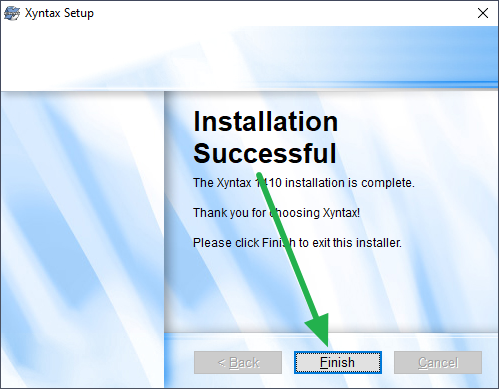
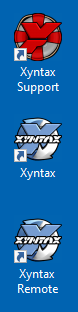
That’s it. You are done. You should now have three new icons on your desktop:
Customer support service by UserEcho
